Introduction
There are many ways to format pictures in Word. For instance, you can change the size or shape of an image to better suit your document. You can also enhance its appearance using Word's image adjustment tools.
Optional: Download our practice document.
Watch the video below to learn more about formatting pictures.
To crop an image:
When you crop an image, part of the picture is removed. Cropping can be useful if you're working with an image that's too big and you want to focus on only part of it.- Select the image you want to crop. The Format tab will appear.
- From the Format tab, click the Crop command.

- Cropping handles will appear on the sides and corners of the image. Click and drag any handle
to crop the image. Because the cropping handles are near the resizing
handles, be careful not to drag a resizing handle by mistake.
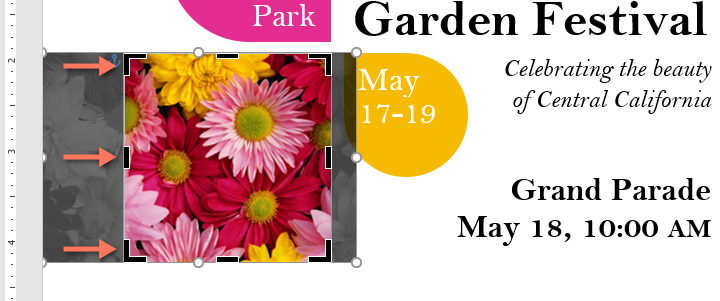
- To confirm, click the Crop command again. The image will be cropped.
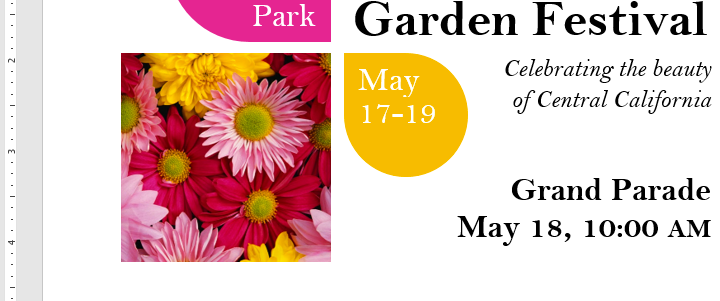
The corner handles are useful for simultaneously cropping the image horizontally and vertically.
To crop an image to a shape:
- Select the image you want to crop, then click the Format tab.
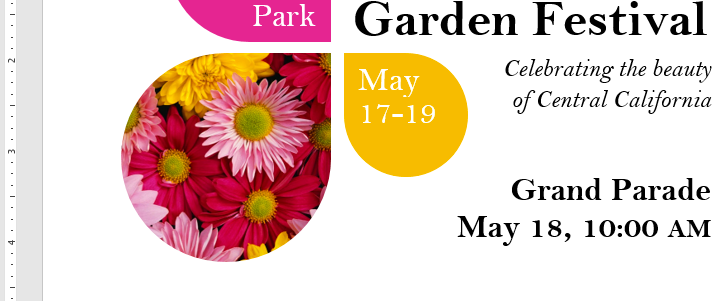
- Click the Crop drop-down arrow. Hover over Crop to Shape, then select the desired shape from the drop-down menu.
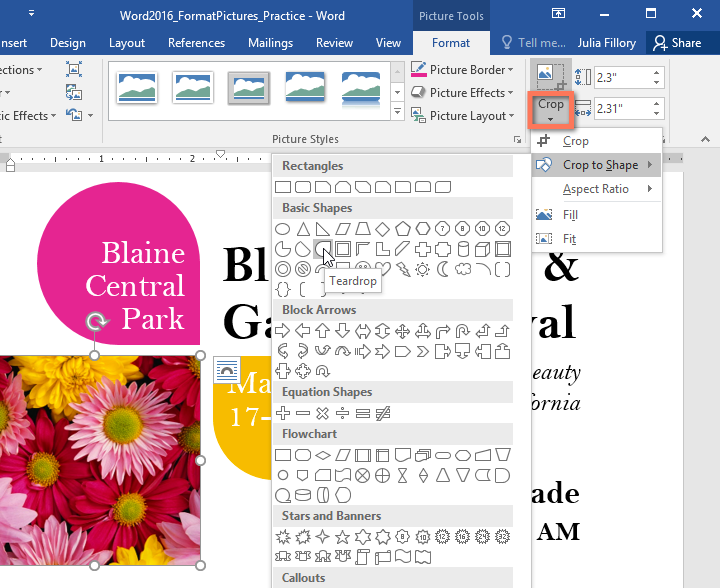
- The image will be cropped to the chosen shape.
To add a border to a picture:
- Select the picture you want to add a border to, then click the Format tab.
- Click the Picture Border command. A drop-down menu will appear.
- From here, you can select a color, weight (thickness), and whether the line is dashed.
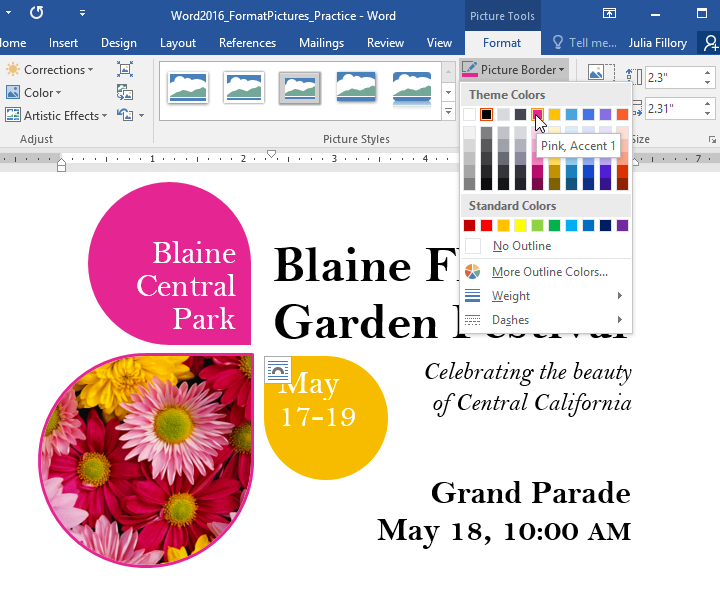
- The border will appear around the image.
Making image adjustments
With Word's image adjustment tools, you can easily fine tune properties like color, contrast, saturation, and tone. Word also offers built-in picture styles, which can be used to add a frame, drop shadow, and other predefined effects.When you're ready to adjust an image, simply select it. Then use the options below, which can be found on the Format tab.

Corrections
From here, you can sharpen or soften the image to adjust how clear or blurry it appears. You can also adjust brightness and contrast, which affect the image's lightness and general intensity.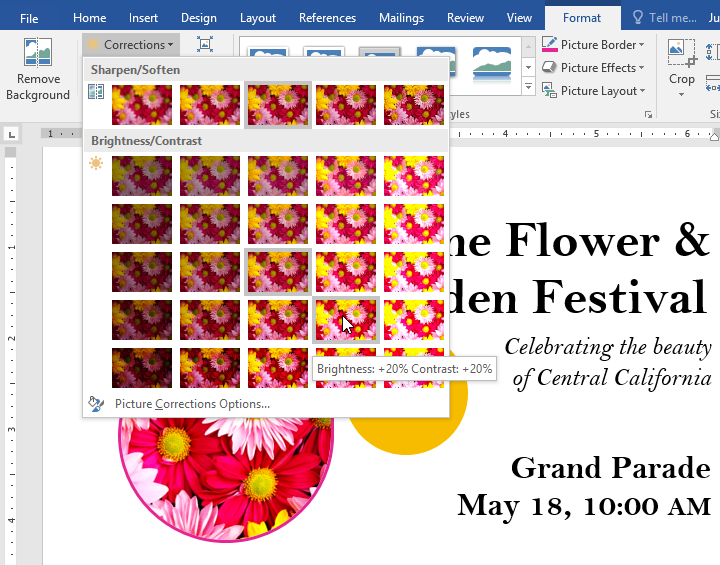
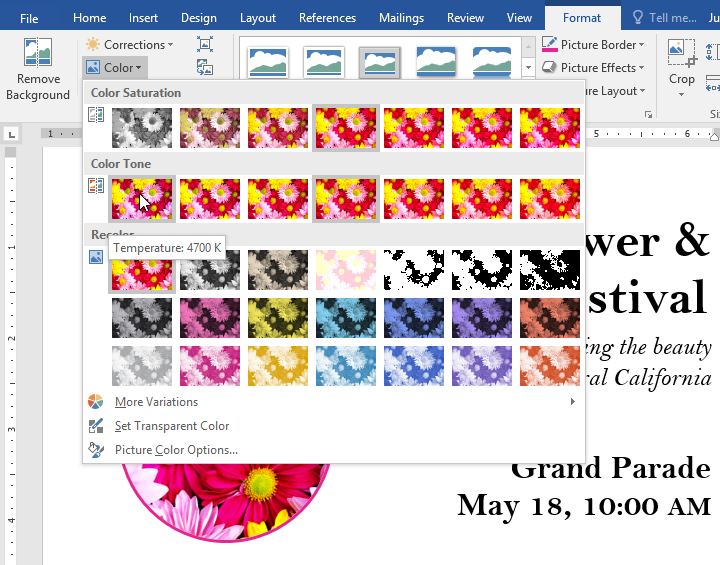
Color
Using this command, you can adjust the image's saturation (how vibrant the colors appear), tone (the color temperature of the image, from cool to warm), and coloring (the overall tint of the image).